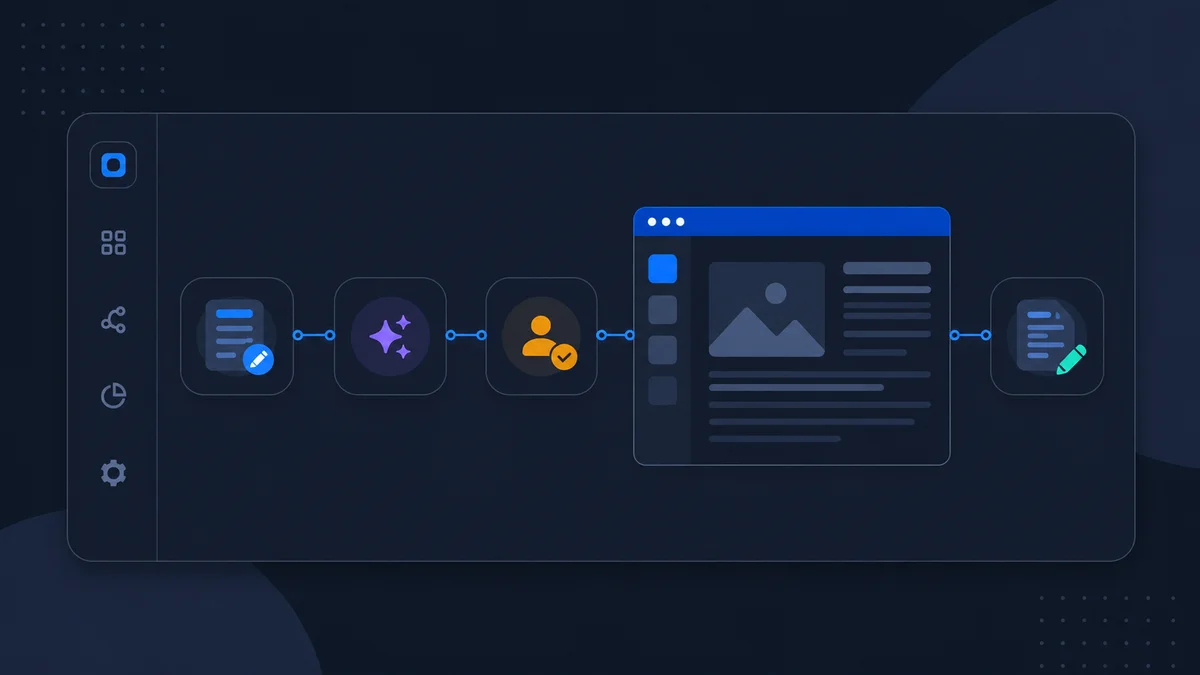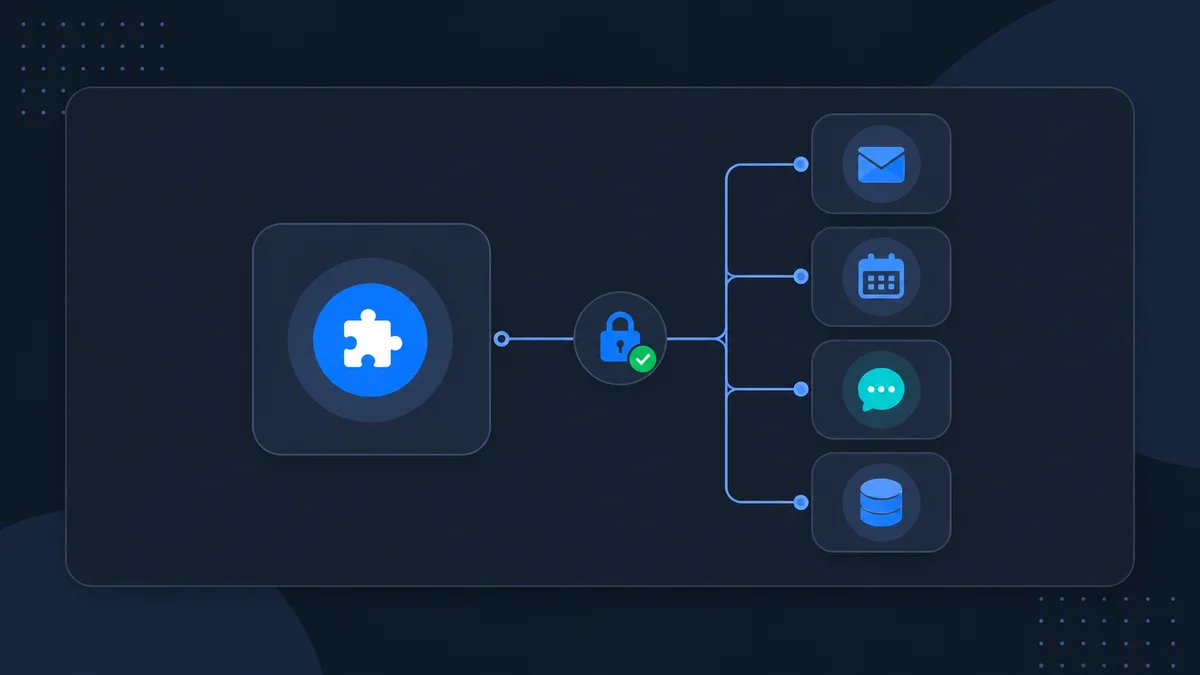
Integrations let workflows read and change data in services such as Slack, WordPress, Google Workspace, Jira, databases, social platforms, and cloud infrastructure. In JustFlows, credentials are saved as workspace connections while workflow Tool nodes describe the action to perform.
This separation is important. A workflow can be copied, inspected, and improved without exposing passwords or tokens on the canvas. When credentials change, the connection can be updated once instead of editing every workflow that uses it.
Choose the smallest useful permission set
Before connecting a provider, decide which actions the workflow actually needs. Reading calendar events does not require the same access as sending email. Loading WordPress posts does not require the same operational risk as publishing them. Prefer an account and permission set that can complete the intended job without unnecessary administrative access.
Providers use different authorization methods:
- OAuth providers redirect you to the service to grant access.
- API-based providers ask for a token or key created in the external service.
- Database connections require a host, database, user, password, and network access.
- Some services use application-specific credentials, such as a WordPress Application Password.
Never place these values in a trigger payload, agent prompt, tool input, or screenshot. Use the connection form designed for that provider.
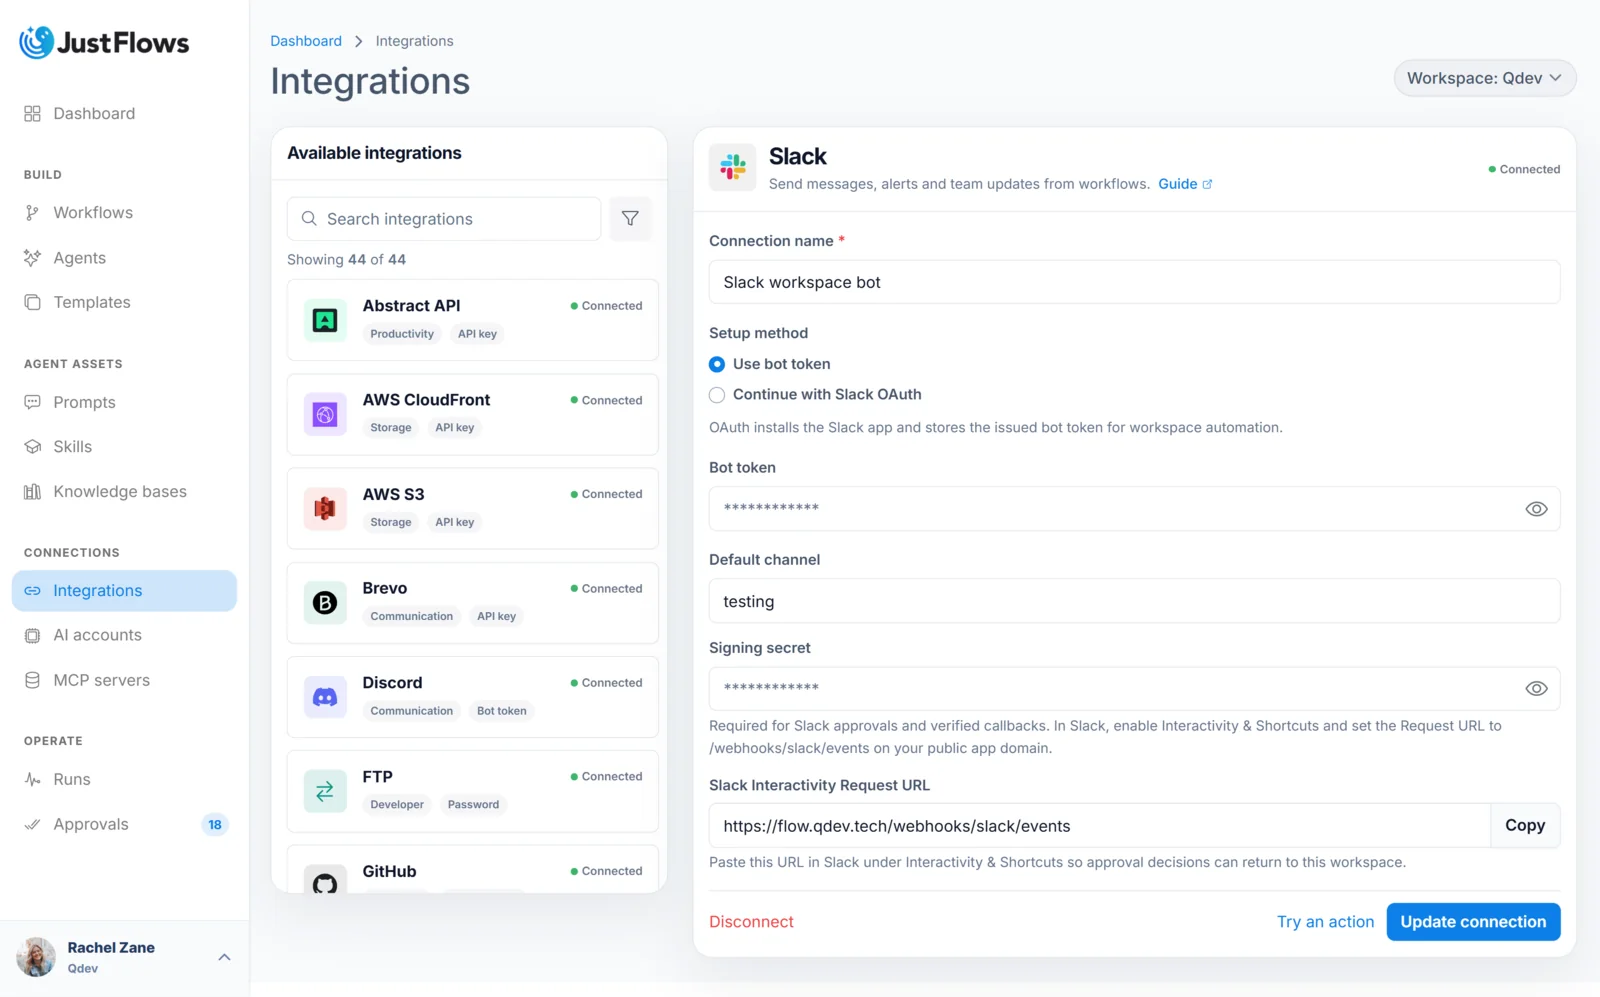
Create a named workspace connection
- Open Integrations and select the provider.
- Choose a connection name that identifies the environment and purpose, such as “Marketing WordPress — staging” or “Support Slack workspace.”
- Enter or authorize the required credentials.
- Set safe defaults. Draft, private, test channel, or read-only defaults are better for initial setup than public production actions.
- Save the connection and confirm the success response.
A workspace can have more than one connection for the same provider. Clear naming prevents a workflow from using a production account when it was intended for staging.
Test with a read action first
Many integration pages offer a safe action after connecting, such as loading recent posts, listing channels, reading calendar events, or fetching a known record. Use that before building a workflow write.
A successful connection test proves several things at once: the credentials are accepted, the target account can be reached, the provider permissions cover the action, and the response shape is available. It does not prove that every write action is authorized, so test those later with a disposable destination.
If the test fails, read the provider message. Common causes include expired authorization, an incorrect site URL, a missing OAuth scope, a revoked token, firewall restrictions, an inaccessible database host, or an account that lacks permission for the requested resource.
Use the connection in a Tool node
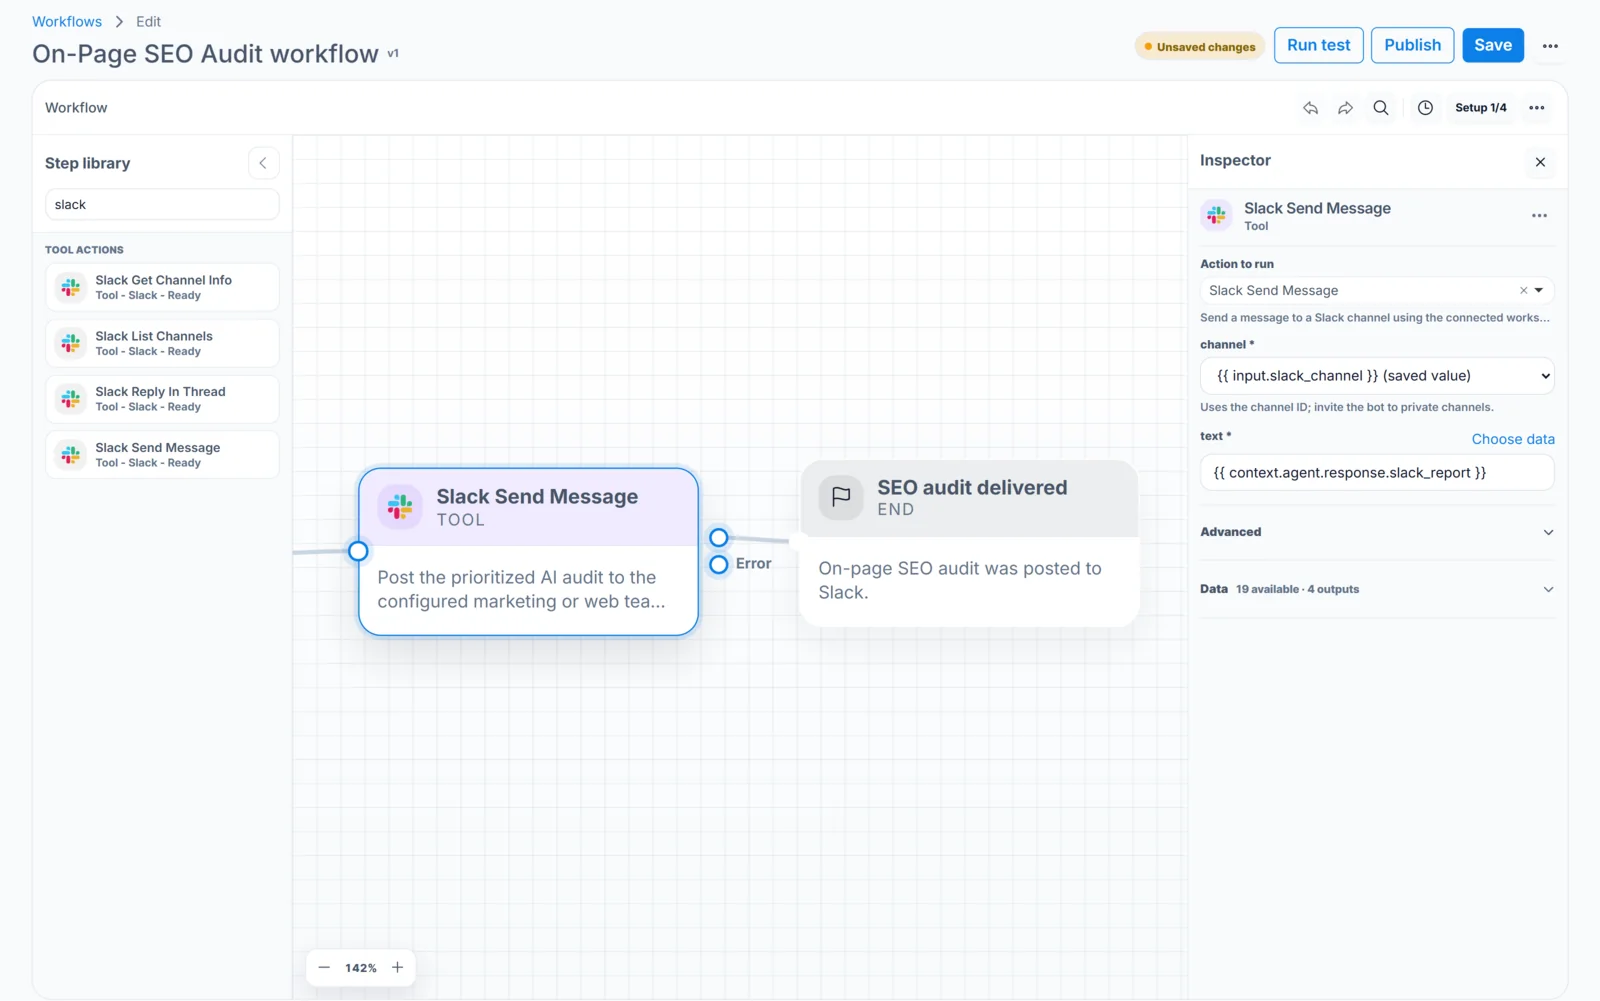
Open a workflow and add a Tool node where the external action should occur. Select the exact provider action, then select the saved workspace connection. A tool action should be explicit: “WordPress Create Post,” “Slack Send Message,” or “Jira Create Issue” is easier to understand and audit than a generic request.
Map the action inputs from earlier workflow context. For example, a WordPress creation step can receive the approved title and HTML body from an approval result, while its status remains explicitly set to draft. A Slack action can receive a generated summary while its channel comes from a reviewed workflow setting.
Do not ask an AI agent to produce credential values or entire hidden provider payloads. Let the agent return business data, and let the typed tool action construct the provider request.
Run a safe end-to-end test
Save the workflow and choose a test payload that cannot damage production data. Depending on the provider, this might mean:
- Create a WordPress draft instead of a published post.
- Send a message to a private test channel.
- Create an issue in a sandbox project.
- Query a read replica or a limited set of rows.
- Upload to a temporary folder or bucket path.
- Place human approval before the write node.
Open the run and inspect the Tool step. Confirm which connection and action were used, which non-secret inputs were sent, what the provider returned, and whether the real external result matches the run output.
Treat provider failures as normal operating conditions
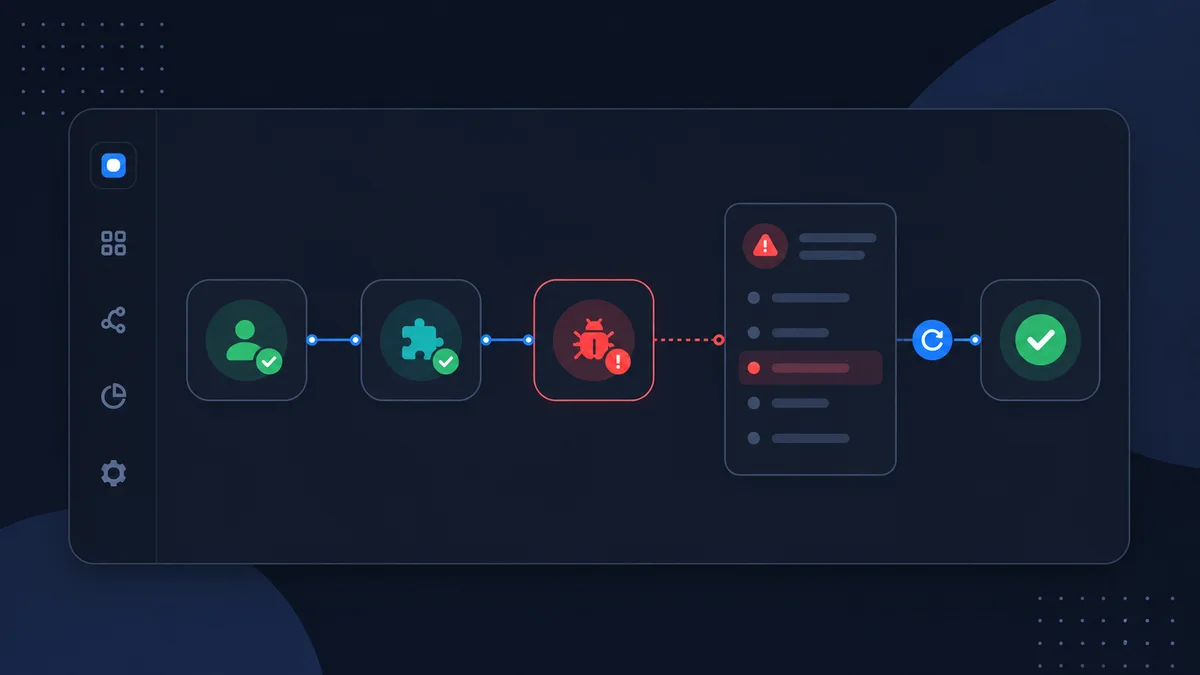
External services will eventually rate-limit a request, reject invalid data, change a permission, time out, or become temporarily unavailable. Decide how the workflow should respond before that happens.
- Use an error route when an operator or fallback action should handle the failure.
- Keep the provider response visible in the run without logging credentials.
- Retry only when the action is safe to repeat.
- Use processed-item tracking when duplicate writes are possible.
- Notify a responsible channel when a production workflow stops.
A failed tool step is not a reason to rebuild the connection immediately. First determine whether the failure came from credentials, permissions, data validation, rate limits, or a temporary provider condition.
Connection checklist
- The connection name identifies its environment and purpose.
- Credentials are stored only in the workspace connection.
- The account has the minimum permissions required.
- A read-only or low-impact provider test succeeds.
- The workflow selects the intended connection explicitly.
- The first write targets a draft, sandbox, or test destination.
- The run output and external result have both been verified.
- Failure and duplicate behavior are understood before publishing.