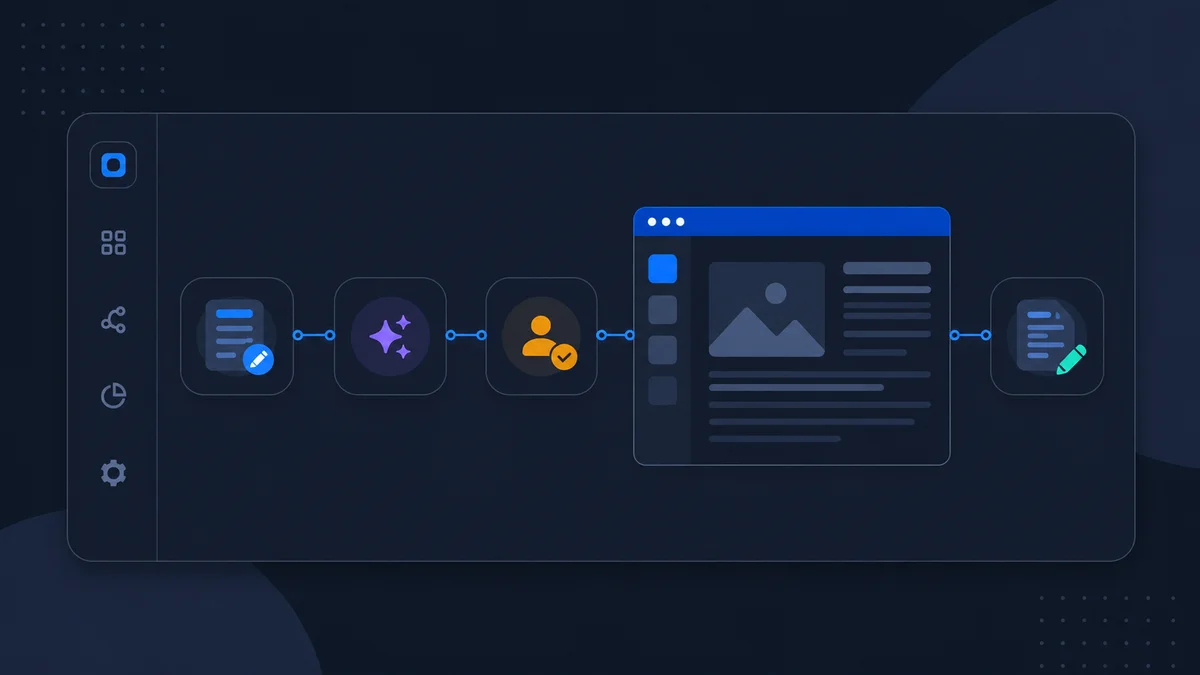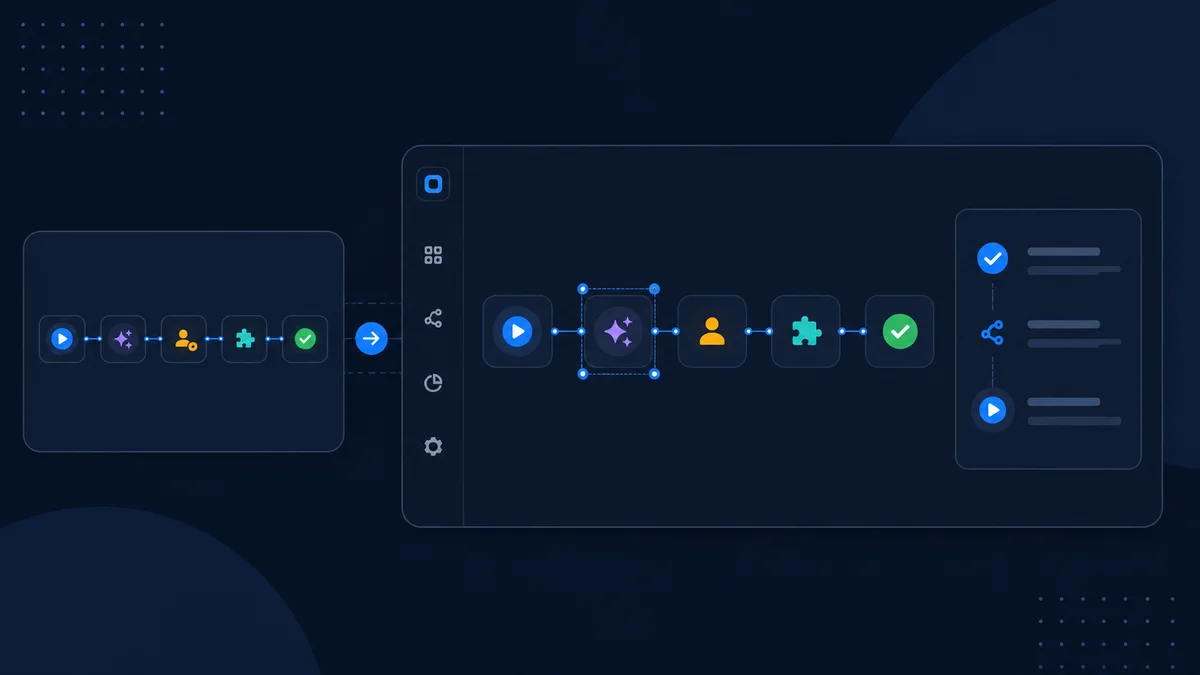
A JustFlows template is a working starting point, not a locked demo. It can include a complete canvas, an agent role, recommended integrations, sample input, saved test scenarios, and a launch checklist. Launching one creates a draft workflow in your workspace that you can inspect and customize before publishing.
Templates are the fastest way to learn how a production workflow is assembled because you can see a realistic path without placing every node manually. This guide explains how to choose a template, prepare its requirements, run a safe test, and make it your own.
Choose by outcome, not by node count
Open Templates and start with the result you want: create a WordPress draft, prepare a sales briefing, triage a support ticket, generate an HTML page, or send a KPI digest. Category and capability filters help narrow the list, while search can match outcomes, integrations, and workflow names.
Open a template detail page before launching it. Review these sections:
- Outcome: the concrete result the workflow should produce.
- Runtime path: the main steps from trigger to end.
- Requirements: AI accounts, integrations, permissions, identifiers, or data the workflow needs.
- Launch readiness: checks that can already be evaluated for the current workspace.
- Saved scenarios: representative inputs for a normal path, safe preview, or edge case.
A template with more integrations is not automatically better. For a first launch, prefer one with an outcome you can verify and a test destination you control.
Launch the template as a draft
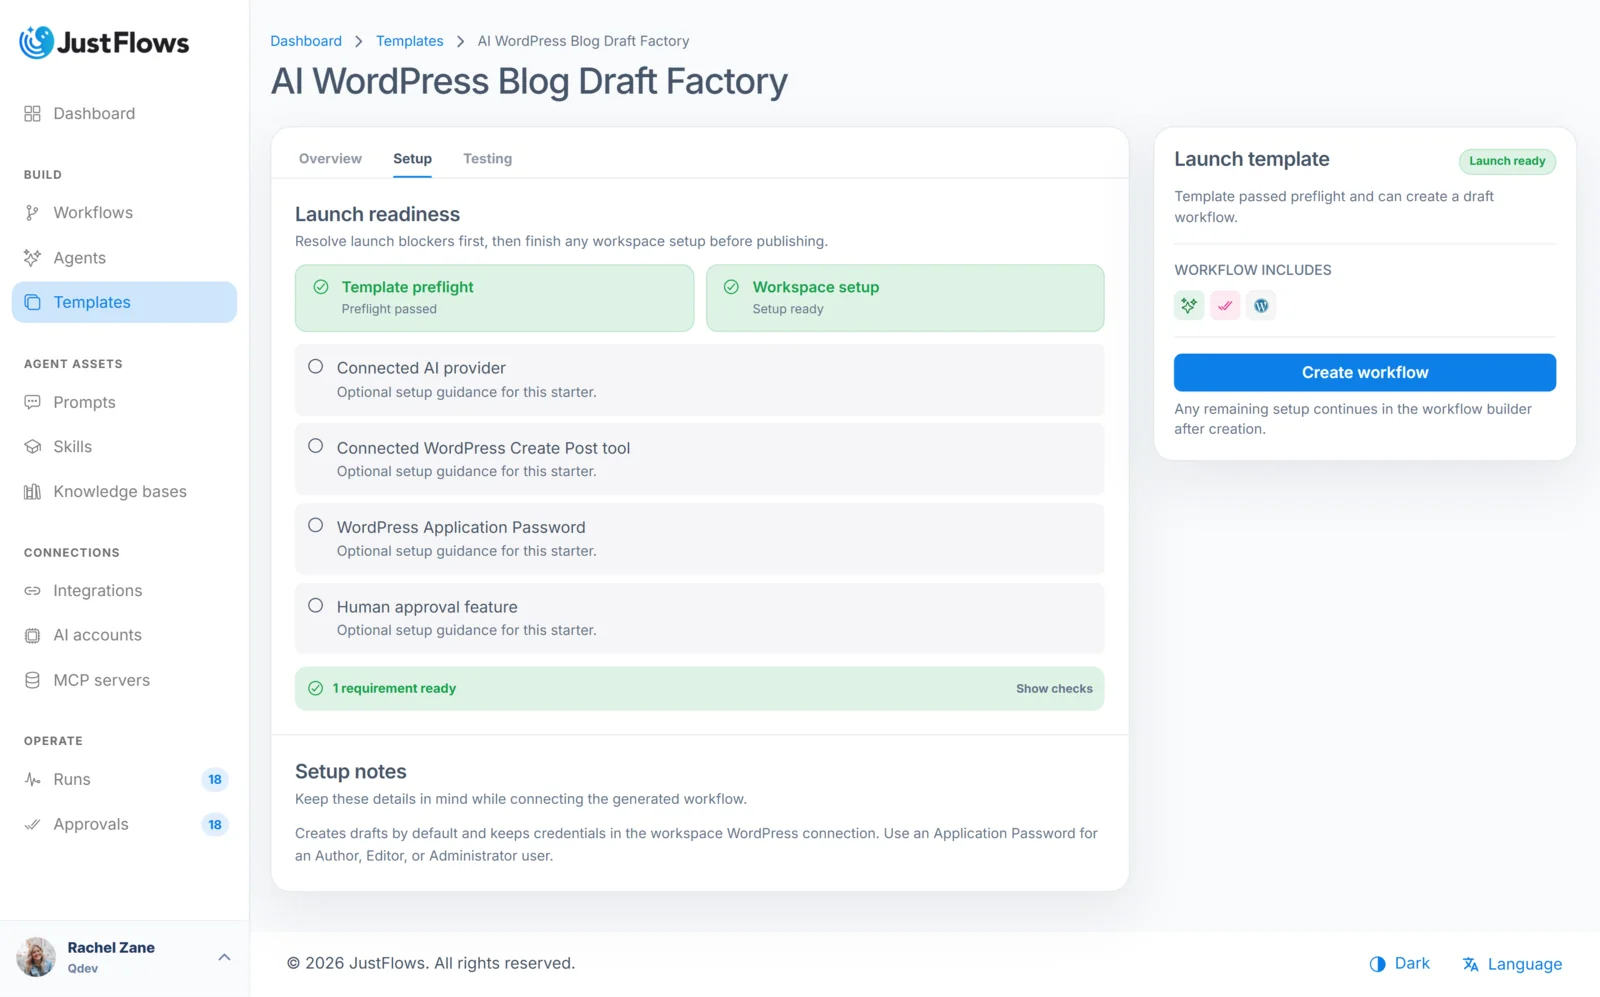
- Open the selected template and review any preflight or setup issues.
- Complete the fields in the Launch template panel. These values prepare the initial workflow and sample payload; they are not a substitute for saved integration credentials.
- Launch the template. JustFlows creates a draft workflow and opens it in the normal builder.
- Save the draft if you change any initial settings before testing.
The created workflow belongs to your workspace. Editing it does not change the original catalog template, and later template updates do not silently rewrite your workflow.
Use the launch checklist
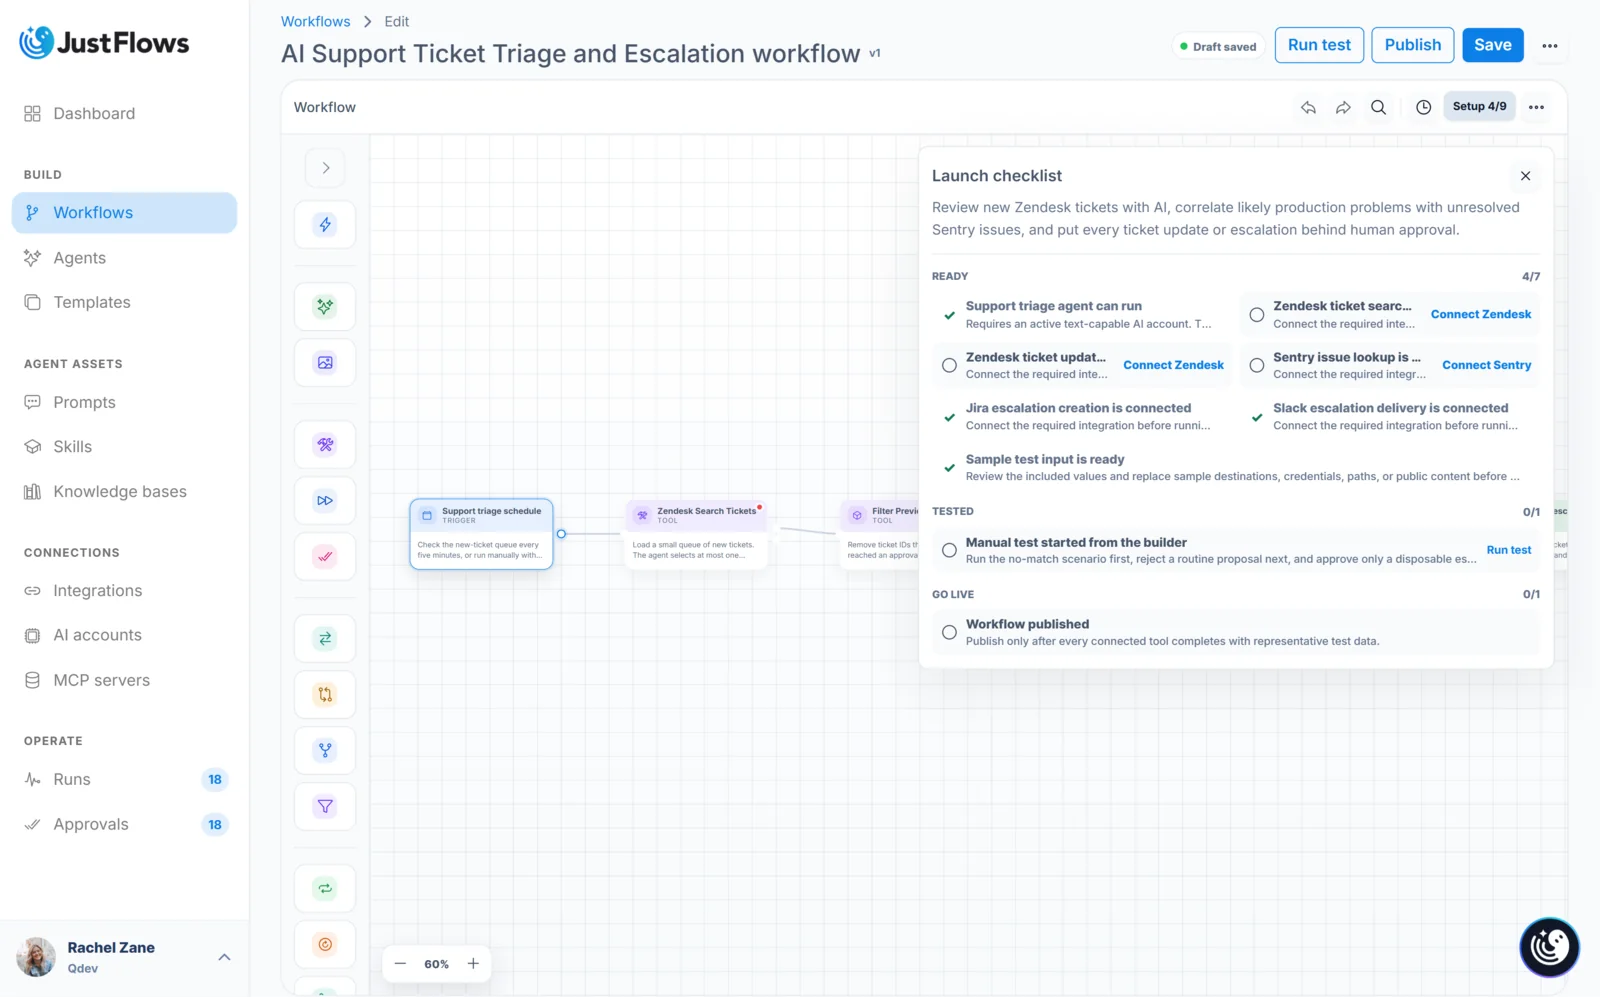
The setup checklist appears in the workflow builder when a template has launch requirements. It may ask you to connect an AI account, select an integration, provide a destination, load sample data, complete a test, or confirm an approval path.
Work from top to bottom, but treat each check as evidence rather than a box to dismiss. For example, “WordPress connected” should mean that the intended site connection is selected and a read-only action can load posts. “Approval reached” should mean a test run actually paused with the expected content available to the reviewer.
If a checklist item is blocked, open the related node and verify its selected connection and required inputs. Never paste an API key into a workflow value just to satisfy setup. Credentials belong in the workspace integration or AI account.
Run a saved test
Select Run test and open the Saved tests tab when the template provides scenarios. Read the scenario description before running it. Some are intentionally safe previews; others can write to a connected service after approval.
Check every value that identifies an external destination: channel, repository, project, spreadsheet, email recipient, WordPress site, or social profile. Replace sample values with a disposable test target. When a workflow can publish or modify data, keep draft mode enabled and make sure approval occurs before the write node.
After the run starts, open its detail page. Confirm that the nodes executed in the expected order, inspect the important outputs, and verify the final external result. A green final status is helpful, but the actual content and destination still need review.
Customize one responsibility at a time
Once the included scenario works, adapt the workflow gradually:
- Rename the workflow and nodes so the purpose is clear to your team.
- Replace sample destinations and payload defaults.
- Adjust the agent instructions or select a different reusable agent.
- Change a schedule only after manual tests are predictable.
- Add conditions for real business rules.
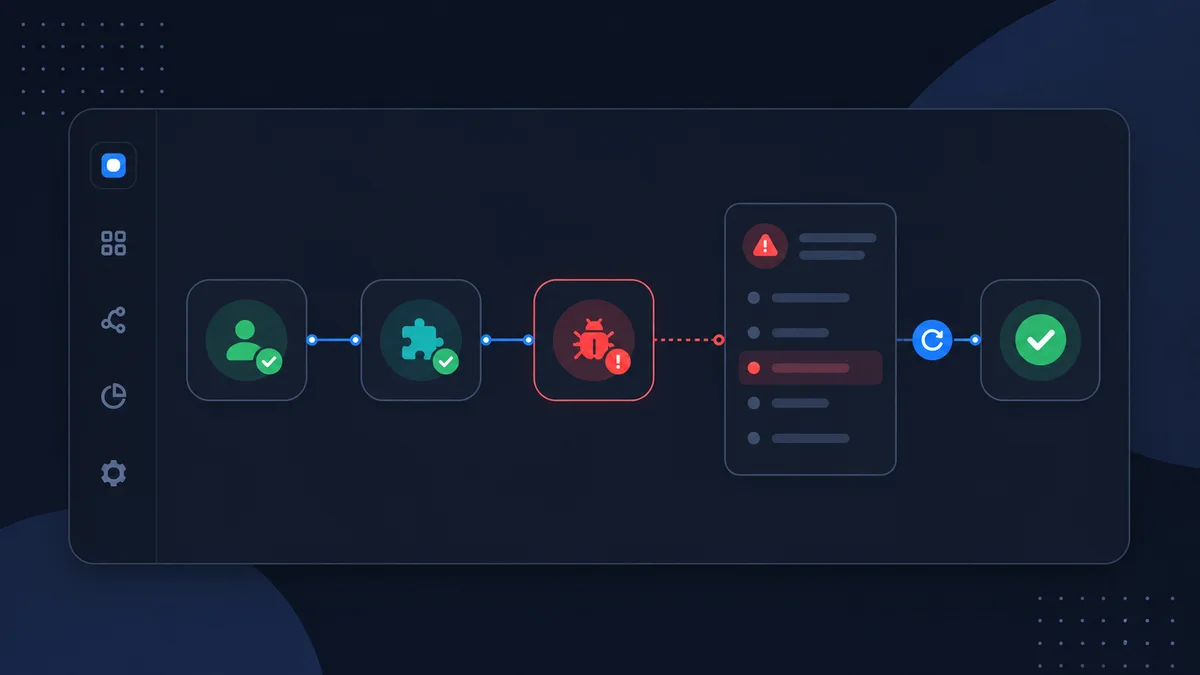
- Add an error route or notification for failures that need attention.
- Keep approval before any action whose impact has increased.
Run the saved scenario again after every meaningful change. This makes it much easier to identify which edit changed the result.
Publish when the evidence is ready
Before publishing, save the workflow and review the launch checklist one final time. Verify that required connections are active, the expected scenario completes, sensitive actions wait for review, and automatic triggers use the correct schedule or webhook.
Publishing activates the workflow for normal use; it does not remove your ability to edit or test it later. Keep the first production scope narrow, monitor the first few runs, and use their history to decide what to improve next.