Your first workflow should be small enough to understand in one screen and useful enough to prove the product. In this tutorial, you will build a manual workflow that receives a customer note, asks an AI agent for a concise summary and recommended next action, and records the result.
The workflow will not message a customer or change an external system. That makes it a safe way to learn the builder, test payloads, node context, and run history before adding integrations.
What you need
- A workspace with permission to create workflows.
- An active text-capable AI account.
- A runnable agent, or permission to install or create one.
- A short example customer note that contains no sensitive personal data.
If you do not have an agent yet, create a simple one whose role is to summarize operational requests. Give it direct instructions: use only the supplied note, do not invent customer details, separate facts from recommendations, and return a short structured answer.
1. Create the workflow
Open Workflows and select Create workflow. Give it a specific name such as “Customer note summary.” A precise name is easier to recognize later in Runs, approvals, and workspace activity.
The workflow begins as a draft. Draft mode is where you can arrange nodes, configure their settings, save changes, and run manual tests without activating an automatic trigger.
2. Add a manual trigger
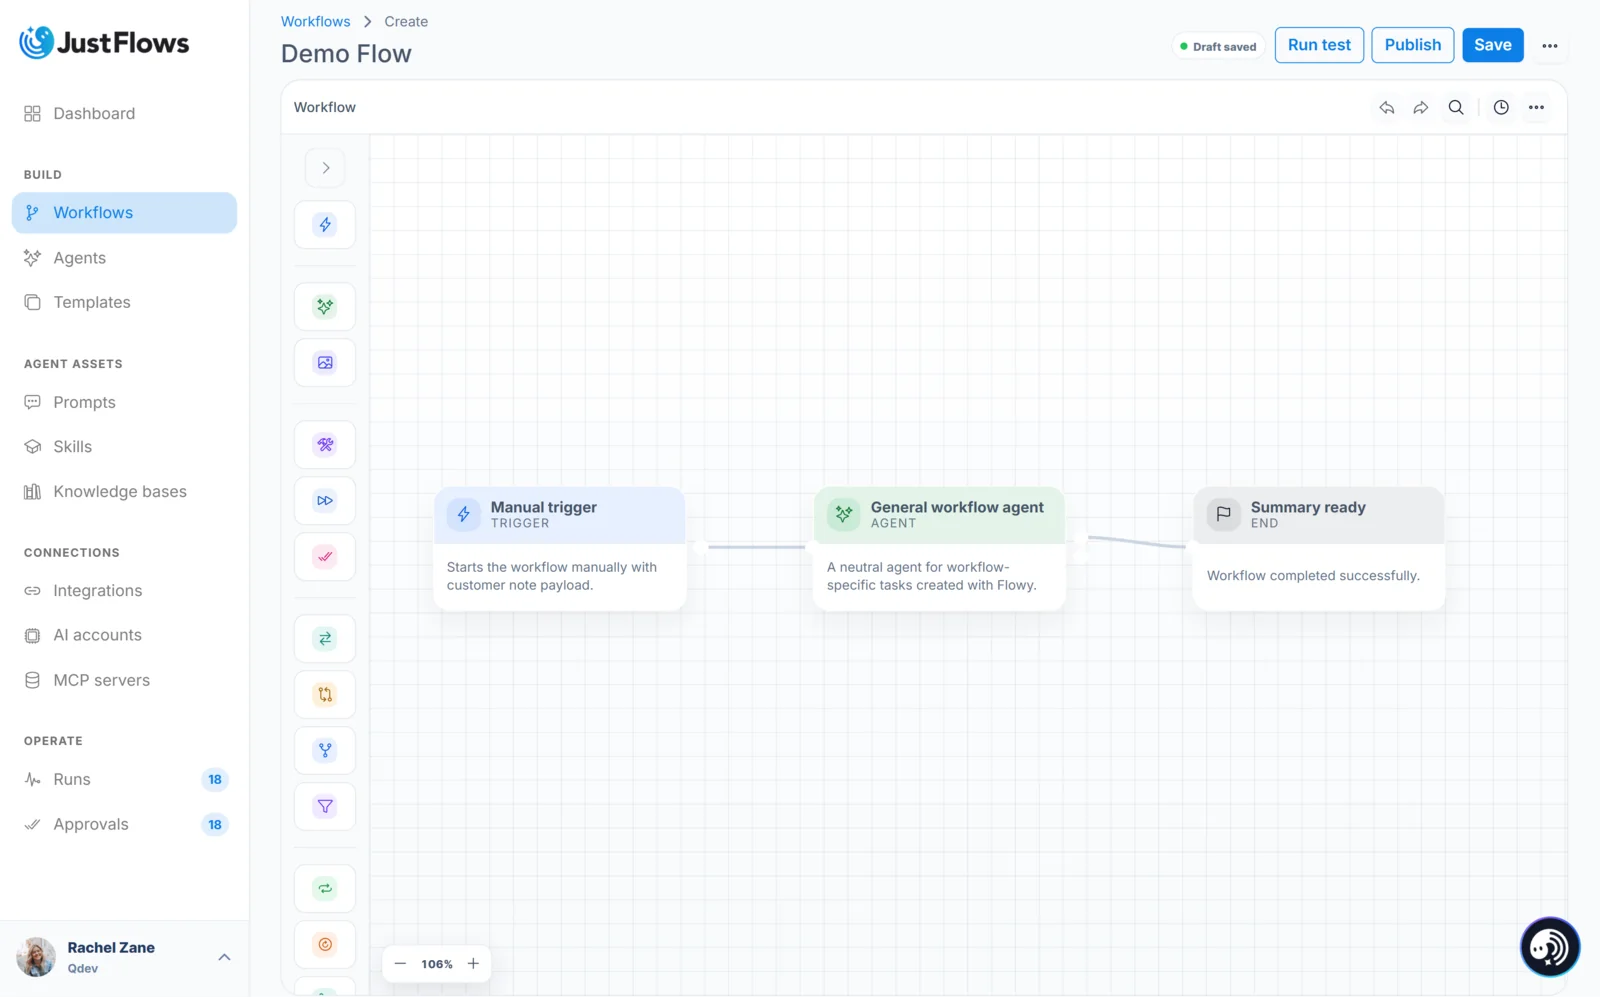
Add a Trigger node and choose the manual mode. The incoming payload for this example only needs two fields:
{
  "customer": "Northstar Labs",
  "note": "The reporting export is timing out for larger date ranges. The customer needs a workaround before Friday."
}
The trigger does not need to know how the note will eventually arrive. Starting manually lets you prove the workflow logic first. Later, you can replace or supplement the trigger with a webhook, email event, form, or schedule.
3. Add the agent step
Add an Agent node after the trigger and select the summarization agent. Tell the node what to produce from the incoming payload. A useful response contract for this example contains:
- A one-sentence summary.
- The customer name exactly as supplied.
- An urgency of low, medium, or high.
- A recommended next action.
- A short explanation of why that action was selected.
Structured output is easier for later nodes to use than a long paragraph. The recommendation could eventually feed a condition, approval step, ticketing tool, or notification. Keep the agent focused on interpretation; it should not claim that an external action was performed.
4. Add a clear ending
Connect the Agent node to an End node. Name it “Summary ready” and make the final result expose the fields a user should care about. An explicit End node helps distinguish a deliberately completed path from a workflow that simply has nowhere else to go.
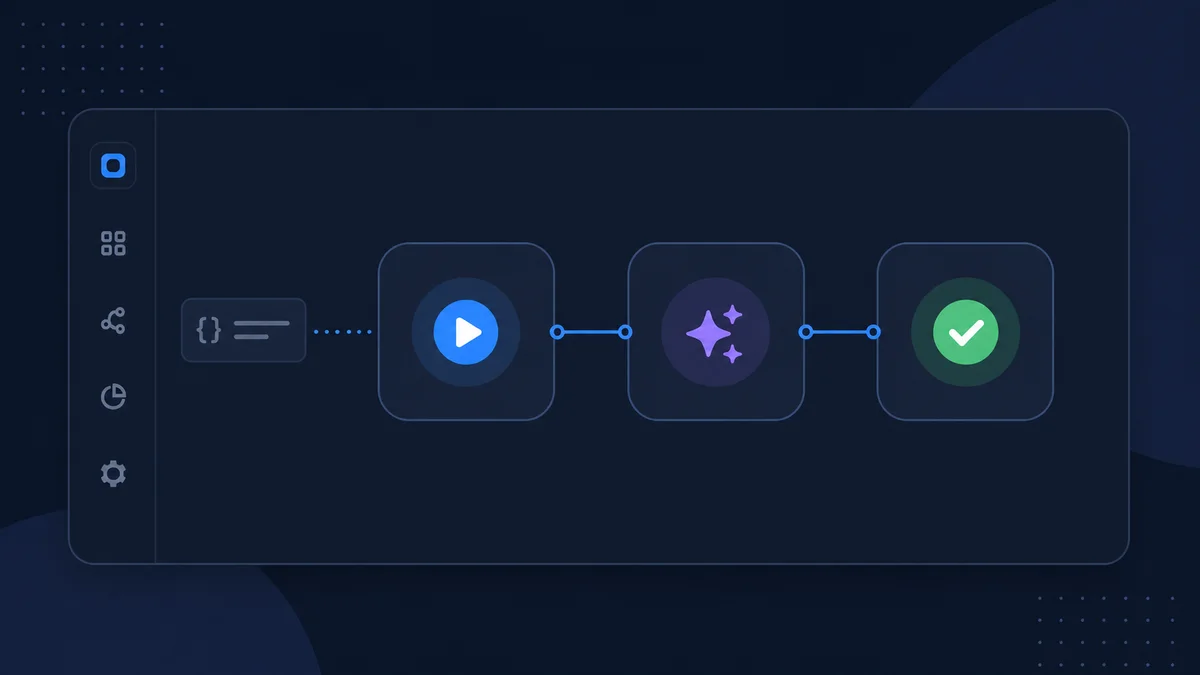
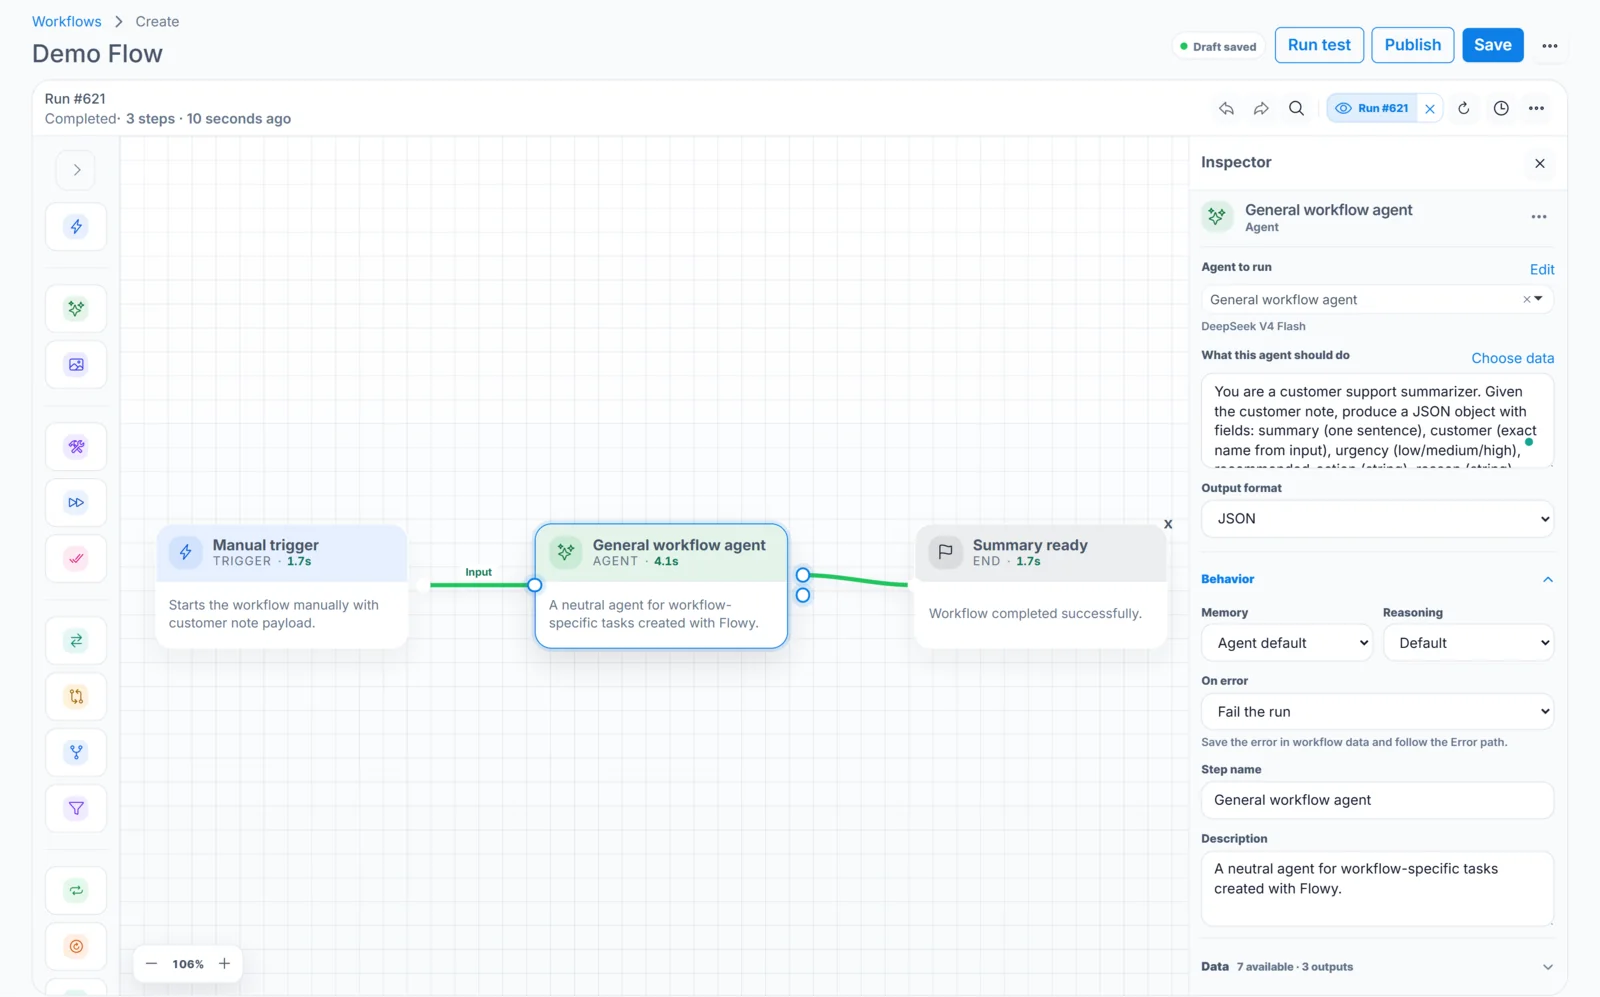
Your first canvas should now have three connected nodes: Manual trigger → Summarize note → Summary ready.
5. Save and run a test
Save the workflow before testing. Select Run test, paste the sample payload, and start the run. If the builder reports unsaved changes, save again so the run uses the version you are looking at.
Open the new run and check it step by step:
- The trigger input should contain the customer and note.
- The agent step should receive that input and return the expected fields.
- The end step should expose a concise final result.
- The run should finish with a completed status.
Read the result critically. The agent should not add an account tier, deadline, product behavior, or customer sentiment that was not in the note. If the output is vague, improve the agent instructions or response contract and test the same payload again.
6. Test an edge case
A successful happy-path run is not enough. Try a second payload with a vague note, such as “Please call me about the report.” The agent should acknowledge that the request lacks enough detail rather than inventing a problem. You can save both payloads as tests so future edits can be checked against the same expectations.
If the agent returns invalid structure, review its instructions and model configuration. If the run fails before reaching the agent, inspect the trigger payload and node bindings. If it fails during the AI request, check the selected AI account, model availability, limits, and error message recorded on the step.
7. Expand only after the core works
Once both tests are predictable, you can extend the workflow in several safe directions:
- Add a condition that routes high-urgency requests differently.
- Add human approval before creating a ticket or sending a message.
- Connect Zendesk, Jira, Slack, or email through a tool node.
- Add an error route that alerts an operator when the agent fails.
- Replace the manual trigger with the real source event.
Add one responsibility at a time and rerun the saved tests after every change. This keeps the workflow understandable and makes failures easier to locate.
When to publish
Publish when the saved workflow completes its normal and edge-case tests, the selected assets are available to the workspace, and any external action has a safe destination or approval gate. Publishing is not the end of development: monitor the first real runs and revise the workflow when their evidence shows a genuine gap.